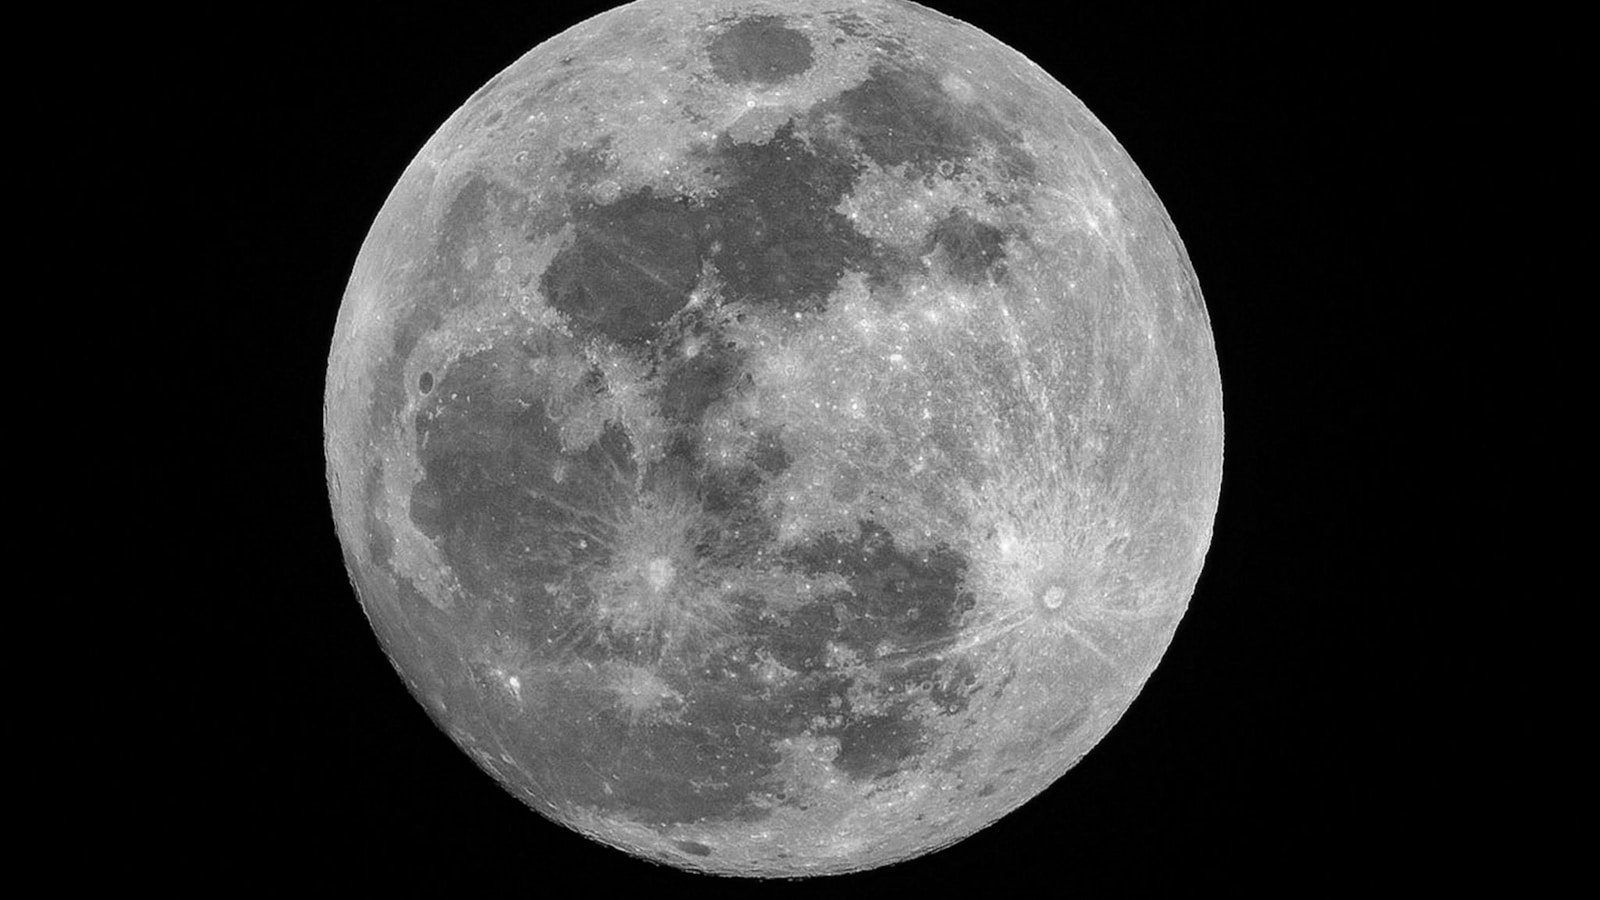
Image: NASA/GSFC/Arizona State University
Lucky imaging is the technique of capturing thousands of short-exposure video frames of a bright target (the Moon, planets) and stacking only the sharpest ones — the frames where atmospheric turbulence happened to be minimal. It is the standard method for producing high-resolution lunar and planetary images, and it works with surprisingly modest equipment.
This guide walks through the full workflow using three free tools: PIPP (pre-processing), AutoStakkert (stacking), and RegiStax (sharpening).
Why lucky imaging works
Earth's atmosphere is turbulent. At any given instant, turbulence distorts the image passing through your telescope. Over a long exposure, this blurs the image. But in a rapid-fire video stream, some frames catch moments of calm ("lucky" frames) where the atmospheric distortion is minimal.
By selecting and stacking only the best 10–30% of thousands of frames, you get an image that is:
- Much sharper than any single long exposure
- Far less noisy than any single short exposure (because you are stacking hundreds of frames)
Equipment needed
| Item | Minimum | Recommended |
|---|---|---|
| Telescope | Any telescope ≥80 mm aperture | 150–300 mm aperture, f/10–f/20 |
| Camera | Webcam or USB camera with video capture | Dedicated planetary camera (ZWO ASI, QHY, etc.) |
| Mount | Any tracking mount | Motorised equatorial or alt-az with tracking |
| Barlow lens | Optional | 2×–3× Barlow for higher magnification |
| Capture software | SharpCap, FireCapture, or similar | FireCapture (free, widely used for planetary) |
Step 1: Capture
Settings
- Resolution: Use the full sensor resolution (or crop to region of interest)
- Frame rate: As high as possible (30–150 fps depending on camera and brightness)
- Exposure: Short enough to freeze atmospheric motion (typically 1–15 ms for the Moon)
- Gain: Moderate — bright enough for a good histogram but not clipping highlights
- Format: AVI or SER (uncompressed or lossless)
- Duration: 30–90 seconds of video per capture (yields 1000–10000+ frames)
Tips
- Focus carefully. Use a Bahtinov mask or fine-tune manually using live-view magnification.
- Capture multiple overlapping video segments if you want to create a mosaic of the full disc.
- The best seeing is often in the hour after sunset or before sunrise, when thermal turbulence is lower.
Step 2: Pre-process with PIPP
PIPP (Planetary Imaging PreProcessor) is a free tool that prepares your video for stacking.
What PIPP does:
- Centres the target in every frame (important if tracking is imperfect)
- Optionally crops frames to a consistent size
- Removes bad frames (e.g., frames where the target drifted off-frame)
- Converts between video formats
- Splits a full-disc capture into overlapping panels for mosaic stacking
Basic PIPP workflow:
- Load your AVI/SER file
- Set the source type to "Solar/Lunar Full Disc" or "Close Up"
- Enable "Object Detection" to centre the Moon in each frame
- Set output format (AVI or SER — AutoStakkert reads both)
- Process and save the stabilised output
Step 3: Stack with AutoStakkert
AutoStakkert is the standard free tool for planetary and lunar stacking. It selects the best frames and aligns them using an intelligent multi-point registration scheme.
Basic AutoStakkert workflow:
- Open the PIPP-processed video
- Analyse — AutoStakkert ranks frames by quality
- Set alignment points (APs):
- For the Moon, use a grid of alignment points (size 48–96 pixels)
- Place them across the visible surface, especially on areas with detail (craters, ridges)
- Set frame percentage:
- Start with the best 10–25% of frames
- More frames = smoother but slightly less sharp; fewer = sharper but noisier
- Stack — AutoStakkert aligns the selected frames at each AP independently, then stitches the result into a single sharp image
- Save as TIFF or FITS
Tips:
- Use smaller AP sizes for higher magnification close-ups; larger for full-disc
- If the result shows artefacts at AP boundaries, increase the AP size or use fewer points
- Stack at 1.5× or 2× drizzle if your sampling is undersampled (can recover additional resolution)
Step 4: Sharpen with RegiStax
RegiStax is primarily used for its wavelet sharpening module, which is highly effective on stacked planetary and lunar images.
Basic RegiStax workflow:
- Open the stacked TIFF from AutoStakkert
- Go to the Wavelets tab
- Adjust the wavelet layers:
- Layer 1 (finest detail): increase gently — this brings out the smallest structures
- Layer 2–3 (medium detail): increase moderately — crater rims, ridges, and larger features
- Layer 4–6 (coarse detail): usually leave minimal — these affect overall contrast
- Use the Denoise slider on each layer to suppress noise amplification
- Preview the result in real-time
- Do Final to apply the sharpening
- Save the result
Tips:
- Less is more. Over-sharpening creates ugly halos and artefacts.
- Apply sharpening to a stretched (non-linear) image — the wavelets work best on data that is already visually interpretable.
- Compare your result with the un-sharpened stack to make sure you are enhancing real detail, not noise.
Expected results
With good seeing and a 150–200 mm telescope, you can resolve:
- Lunar craters down to ~2–3 km across
- Rille systems and ridge structures on the mare surfaces
- Mountain shadows and central peaks in large craters
- Fine texture on the Maria
With larger apertures (250 mm+) and excellent seeing, sub-kilometre features become visible.
Common mistakes
| Mistake | Fix |
|---|---|
| Focus not nailed | Spend extra time on focus before capture — it is critical |
| Too few frames captured | Capture at least 2000 frames; 5000+ is better |
| Stacking too many frames | Using 50%+ of frames includes poor ones — try 10–25% |
| Over-sharpening in RegiStax | Back off wavelet sliders; use denoise |
| Ignoring seeing conditions | Wait for steady air — the best equipment cannot fix bad seeing |
FP Softlab context
FP Softlab's Moon3D tool lets you explore the same lunar surface features you will capture with lucky imaging. The gallery includes reference lunar imagery for comparison.